Ingredients
Method
- Prepare the Chicken:
- Cut the Chicken: Chop the chicken breasts into bite-sized, 1 ½ inch pieces.
- Coat the Chicken: In a shallow bowl, whisk the eggs. In another dish, combine the flour and cornstarch.
- Dip each chicken piece into the egg mixture, then coat with the flour-cornstarch mixture, shaking off any excess.
- Fry the Chicken:
- Heat vegetable oil in a large skillet or wok over medium-high heat.
- Fry the coated chicken pieces in batches, cooking for 3-4 minutes per side, until golden brown and crispy. Ensure not to overcrowd the pan for even frying.
- Remove the chicken from the skillet and drain on a paper towel-lined plate to remove excess oil.
- Prepare the Sauce:
- In a small bowl, whisk together the honey, ketchup, sugar, brown sugar, white vinegar, soy sauce, toasted sesame oil, salt, and garlic powder.
- In another small bowl, mix the cold water and cornstarch to create a slurry (this will help thicken the sauce).
- Pour the sauce into the skillet and bring to a simmer over medium heat. Stir occasionally to combine.
- Once the sauce is simmering, add the cornstarch slurry to thicken the sauce. Stir until the sauce reaches a sticky consistency. If it gets too thick, add a little water to adjust.
- Combine the Chicken with the Sauce:
- Add the fried chicken back to the skillet, tossing to coat the chicken evenly in the sauce. Let the chicken cook for another 1-2 minutes, allowing the sauce to cling to the chicken and thicken.
- Serve:
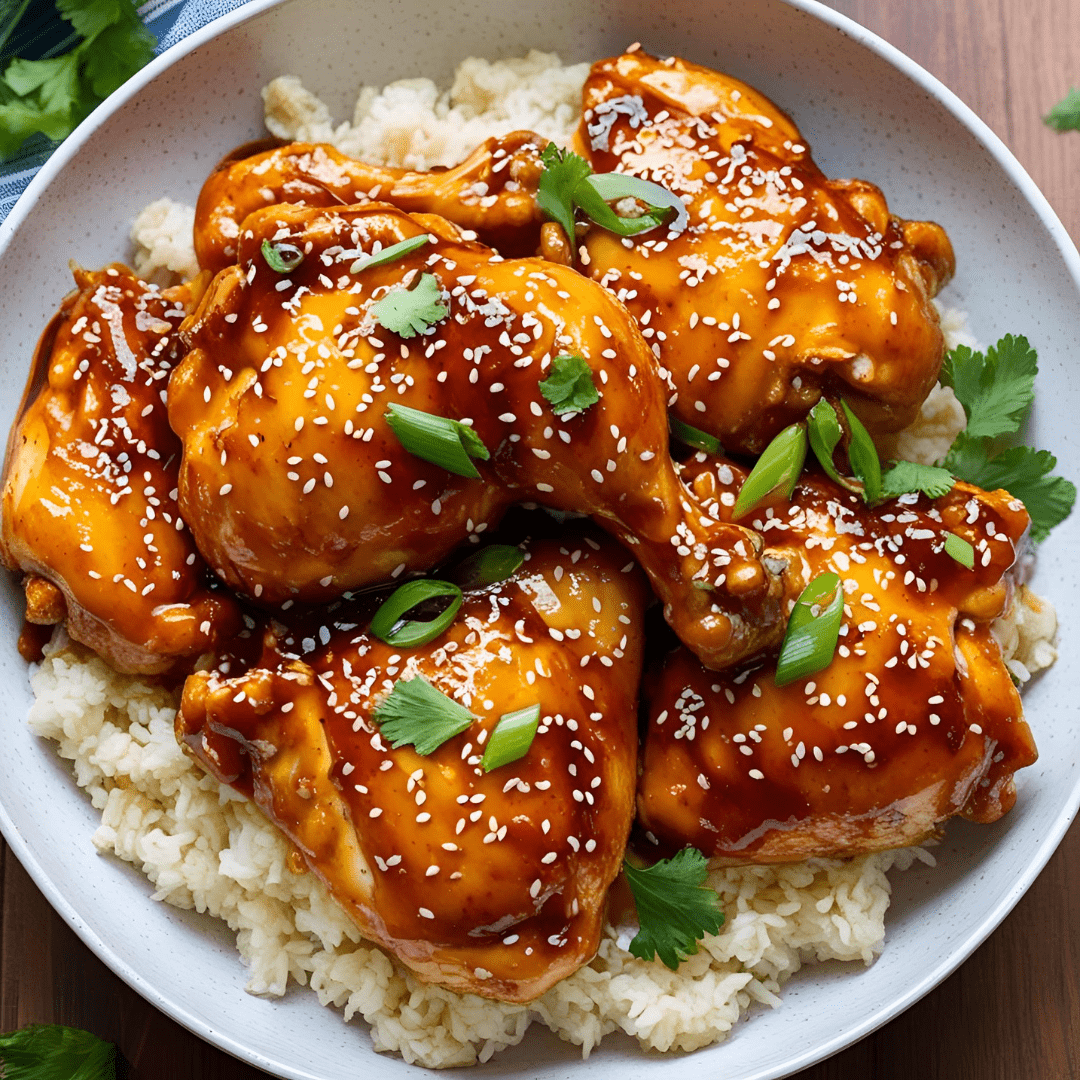
- Serve the sticky sesame chicken over cooked white rice.
- Garnish with sesame seeds and chopped green onions for added crunch and flavor.
Notes
-
Frying Tips:
- Oil Temperature: Make sure the vegetable oil is hot enough before adding the chicken to ensure a crispy texture. If the oil isn’t hot, the chicken may become soggy. You can test the oil by dropping a small piece of chicken into it; if it sizzles immediately, it's ready.
- Batch Cooking: Avoid overcrowding the pan when frying. Fry the chicken in batches to ensure that each piece gets evenly crispy.
-
Cornstarch & Flour Coating:
- Crispier Coating: The combination of flour and cornstarch gives the chicken a light, crispy coating. Cornstarch helps create a crunchier texture compared to just flour.
- Alternatives: If you want to make this recipe gluten-free, you can use gluten-free flour and cornstarch to coat the chicken. Make sure to also use tamari or a gluten-free soy sauce for the sauce.
-
Sauce Adjustments:
- Consistency: The sauce will thicken quickly after adding the cornstarch slurry. If it becomes too thick, add a splash of water to loosen it up.
- Sweetness & Sourness: The honey and sugar give the sauce a sweet flavor, while the vinegar adds a tangy balance. Adjust these ingredients based on your taste preferences — more honey for sweetness, more vinegar for tang.
- Heat: For a spicy kick, add a teaspoon of chili sauce or red pepper flakes to the sauce.
-
Serving Variations:
- Rice Options: While white rice is a classic choice, you can switch it up with brown rice, jasmine rice, or cauliflower rice for a lower-carb alternative.
- Vegetables: You can stir-fry vegetables like bell peppers, broccoli, or snap peas in the same skillet after removing the chicken. Add them to the dish for extra texture and nutrients.
-
Leftovers:
- Storage: Store leftover chicken in an airtight container in the refrigerator for up to 3 days. The sauce may thicken when stored, so reheat with a little water or broth to bring back its sticky texture.
- Reheating: When reheating, a skillet is preferable for keeping the chicken crispy. If using a microwave, place a damp paper towel over the chicken to retain moisture.
-
Make Ahead:
- You can prep the chicken and coat it in the flour-cornstarch mixture in advance, storing it in the fridge for a few hours before frying.
- The sauce can also be made ahead of time and stored in the refrigerator for up to 4 days. Reheat it in a pan before adding the chicken.